 Support Helpline: 0333 456 5776


The Process of Installing a SupaLite Roof
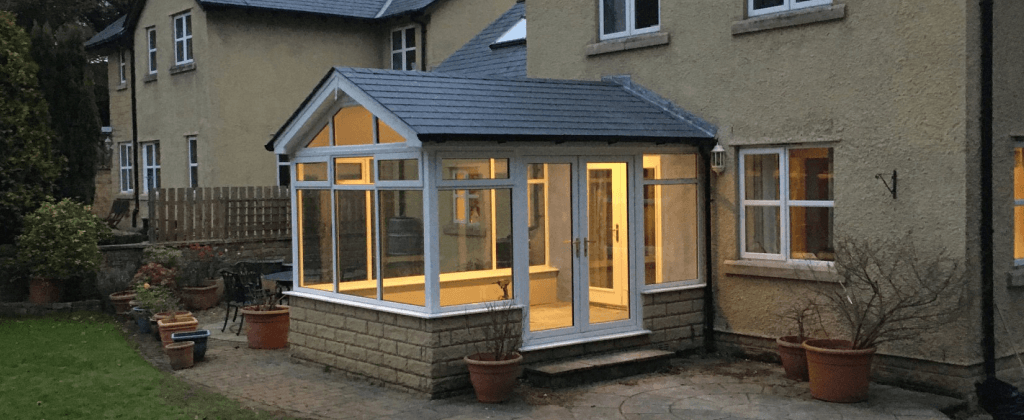
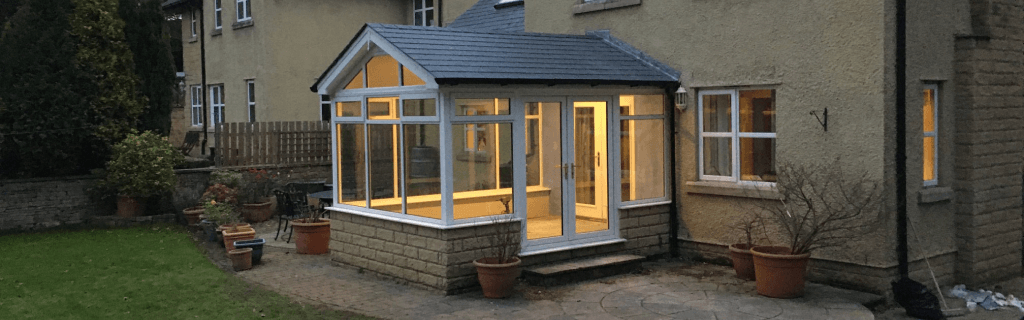
Upgrading your conservatory roof offers year-round use for your conservatory, energy efficiency and the potential for increased property value —a worthwhile investment for your home. But not all conservatory roofs deliver like the SupaLite Tiled Roof.
We’re going to walk you through the installation process so you can learn about our processes and expertise.
6 Reasons Why You Should Invest in Your Conservatory Roof
Before we dive into the installation process, it’s important to recognise why investing in a tiled conservatory roof, such as the SupaLite Tiled Roof, is a smart choice.
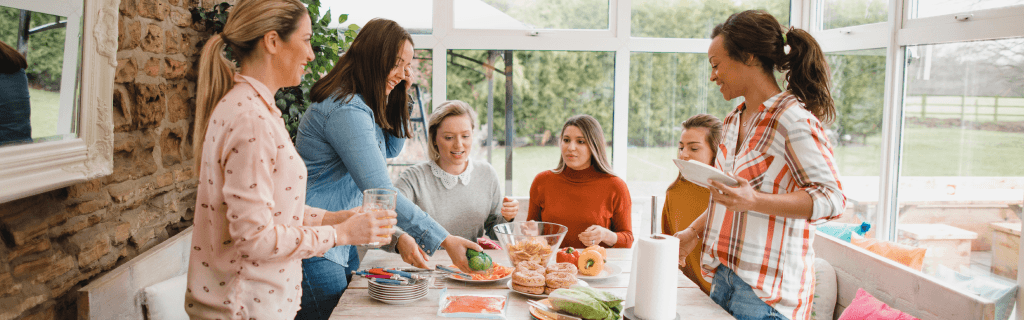
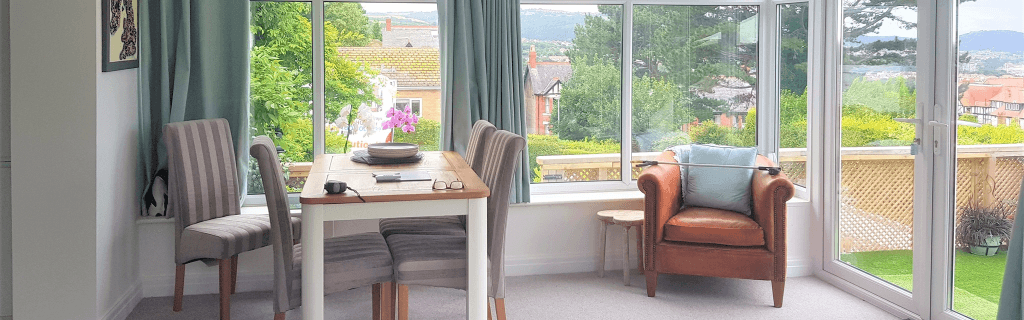
- Year-Round Comfort: Upgrade to a tiled roof for consistent temperature control, making your conservatory comfortable in all seasons.
- Energy Savings: Improved insulation can lead to reduced energy bills (saving you up to £200 annually.)
- Increased Usability: Enjoy your conservatory year-round.
- Noise Reduction: Tiled roofs minimise external noise.
- Enhanced Aesthetics: Transform your conservatory’s appearance with various roofing options, adding curb appeal.
- Added Property Value: Increase your home’s worth with a functional and attractive conservatory space.
Peace of Mind From the Leading Installer

We’re registered professional installers of the SupaLite Roof. As an Installsure member, we provide you with an insurance-backed guarantee. In the unlikely event we stop trading, your roof installation remains covered. To learn more, read: Lightweight Roofing Solutions is now a member of Installsure.
Not to mention, our installation takes between 3-5 days. Typically, 3 days for smaller spaces and 5 for larger areas (with 1 day for plastering) meaning minimal disruption to your daily life. What’s not to like? For more information, get in touch.
How the SupaLite Tiled Roof is Different
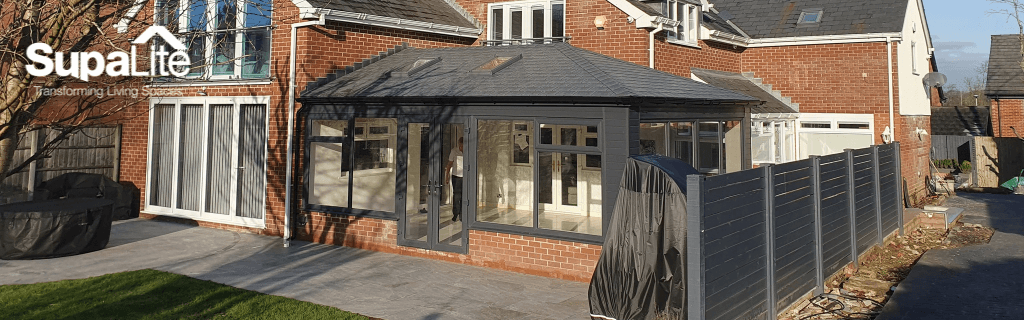
The SupaLite Tiled Roof uses innovative technology so you get the most from your conservatory roof, even when the weather takes a turn. Here are the benefits at a glance:
Enhanced Natural Light and Ventilation:
- Incorporate a SkyVista glass panel to invite more sunlight, creating a brighter space.
- While more compact than the SkyVista, the skylight window offers the added optional benefit of opening for increased ventilation.
Outstanding Insulation: With an impressive U-value of 0.15 the SupaLite Roof ensures year-round comfort in your conservatory, whether it’s winter or summer.
Certified Quality: The SupaLite Roof is recognised and approved by building inspectors.
Energy Efficiency: Tiled roofs outperform traditional glass and polycarbonate roofs by up to 15 times in energy efficiency, potentially saving you £200 annually on energy bills.
Personalised Style: Tailor your conservatory roof to match your home’s aesthetics with a wide range of colours and styles for fascias, soffits, gutters and tiles.
A Step-by-Step Guide to Installing a SupaLite Tiled Roof
Assessing Your Conservatory
Once you have requested a free quote, we arrange a home evaluation to chat about your needs. We assess the existing state of your conservatory; considering factors from the current roof type to structural integrity and your desired outcome.
We also offer guidance and assistance in applying for the required Building Notice, ensuring your installation process is stress-free.
For advice and support, get in touch.
For more information, read A Guide to Building Regulations for Your Conservatory
Installation of the SupaLite Tiled Roof
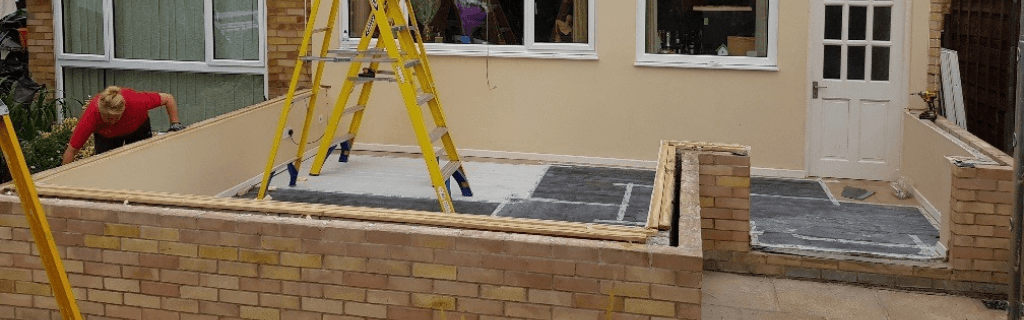
1. We check the existing roof, ensuring that the frame is square.
2. The eaves beam is then installed which has been prepped with the under-clad soffit.
3. M6 bolts slide into the eaves beam before closing and securing the corner joints.
4. Multi-angled cleats are used to fix the eaves joints together which are then secured with screws.
5. The side window glass units are removed so that all eaves can be secured from underneath.
6. Each rafter is prepared by sliding the required cleats and m6 bolts onto the slots provided.
7. Wall plates are fixed to the wall on both sides of the ridge plate.
8. The valley is then attached to both the ridge and the wall plate.
9. Once in place, the rafters can be attached to the eaves by securing the cleats to the m6 bolts in the eaves.
10. M8 bolts slide to the end of the hip which is then attached to the multi-angle ridge bracket (which is designed to accept hips at any angle.)
11. Check the hip points towards the centre of the ridge.
12. Jack cleats slide onto each side of the hip and are secured to the underside of the jack rafters with m8 bolts.
13. This is repeated until all of the rafters are firmly in place.
14. The external gutter fascias and guttering are then attached.
15. The gutter is attached to the box gutter using the box gutter bracket provided sealant and waterproof tape must be added to the box gutter to ensure a tight seal is achieved.
16. 100mm Insulation is then installed from the outside, sitting between the aluminium rafters (before the plasterboard is installed, an additional 25mm of insulation is added.)
17. Before the pre-cut and labelled plywood is secured to the rafters and guttering, we use 38mm screws to add structural strength.
18. The eaves and waterproof membrane are installed next followed by vertical battens set at 250mm apart.
19. Unlike other systems where tiles are installed directly onto the plywood, these battens ensure constant airflow and eliminate any problems with condensation under the tiles.
20. The metal tiles starter cleat is added and the Barge Soaker is attached directly to the battening using a high-quality adhesive.
21. The tiles are now ready to be installed, with the first positioned over the Soaker.
22. Tiles are installed from right to left to ensure they interlock correctly.
23. If there are any issues with the site of a tile, these are cut to size with a grinder.
24. The bar is then hung over the soaker and screwed to the side of the barge onto the fascia board.
25. Battens are added to the ridges on the roof ready to receive the ridge caps which are fixed directly to the battens using screws.
Internal Fit and Finish
1. Horizontal battens are added.
2. Insulated plasterboard is cut to size and installed.
3. It is then skimmed and ready to be painted.
FAQs
How long does it take to replace a conservatory roof?
The length of the replacement process may vary depending on your specific design preferences and conservatory, but our skilled team can frequently complete a conservatory roof replacement in as few as 3-5 days. 3 days for smaller spaces and 5 for larger areas (with 1 day for plastering.)
How do you reroof a conservatory?
We’ve given you a comprehensive guide on how to re-roof your conservatory. For more information and advice, get in touch and we’ll happily talk you through the installation process that has made us the leading installer of the SupaLite Tiled Roof.
 Opening Times: Mon - Fri: 9am - 5pm | Sat: 9am - 12pm
  Opening Times: Mon - Fri: 9am - 5pm | Sat: 9am - 12pm